How to Download All Photos From Google Photos to Your Computer (Full Guide – 2025)
If you’ve ever tried downloading pictures one by one from Google Photos, you know how frustrating it can be—especially when you have thousands of memories stored there.
The good news? In 2025, downloading all your Google Photos is easier than ever. Whether you want a simple method for a few albums or a complete backup of your entire Google Photos library, this guide walks you through everything step-by-step, in plain English.
Let’s dive in.
Method 1: Download Photos Directly From Google Photos (Easy Method for Small Batches)
This method is perfect if you just want to download a few photos, albums, or selected memories.
Step-by-Step
-
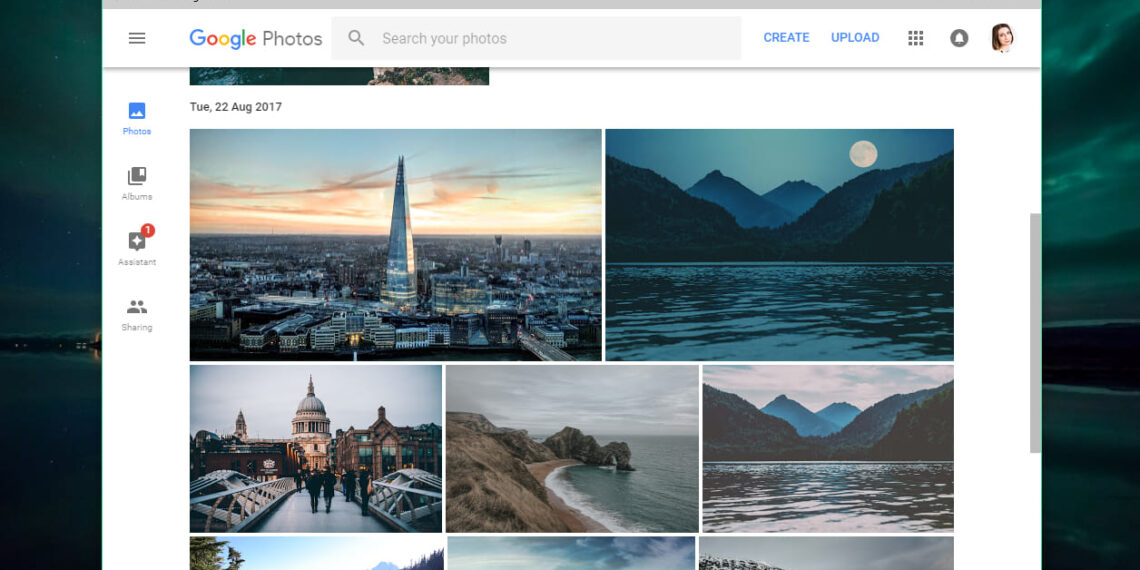
Open Google Photos
Go to: https://photos.google.com -
Select Photos
Hover over a photo and click the small checkmark. Select as many as you need. -
Click the Three Dots (⋮) in the top-right corner.
-
Choose “Download”
Your photos will download as a ZIP file.
Pros
-
Very simple
-
No special tools needed
Cons
-
Not ideal for downloading thousands of photos
-
Large selections can slow down your browser
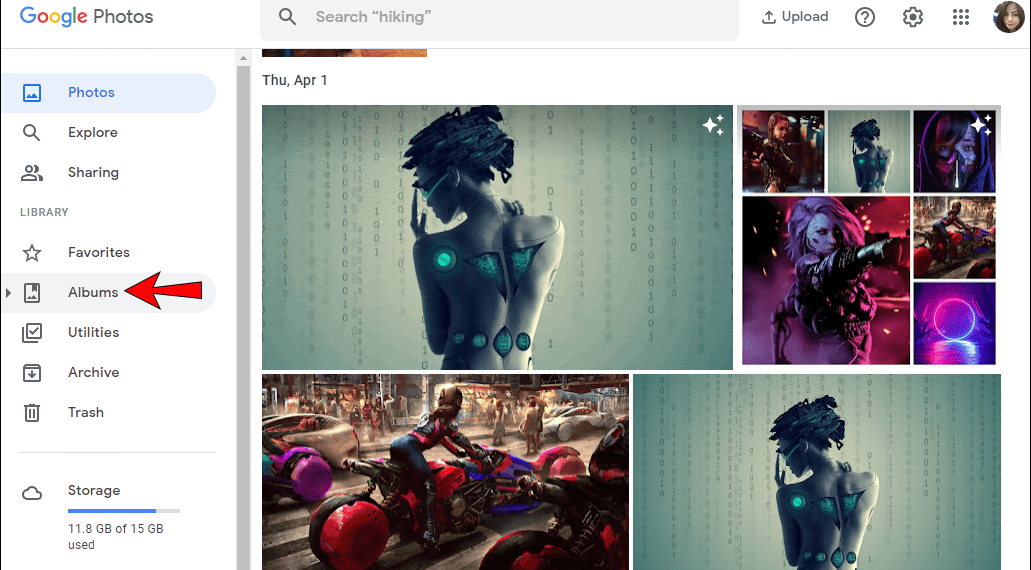
Method 2: Download an Entire Album
If you organize your photos into albums, this is the easiest way.
How to Do It
-
Open an album.
-
Click the three dots (⋮) in the top-right.
-
Select Download album.
-
Google will download the full album as a ZIP file.
Tip:
If you’re doing this for family photos, it’s a great idea to rename the ZIP files with meaningful names like “Summer 2023 Family Trip” so it’s easier to find them later.
Method 3: Download All Google Photos Using Google Takeout (Best Method – Full Backup)
This is the official, most reliable way to export your entire Google Photos library — including photos, videos, albums, edits, and metadata.
Step-by-Step Guide
1. Go to Google Takeout
Open: https://takeout.google.com
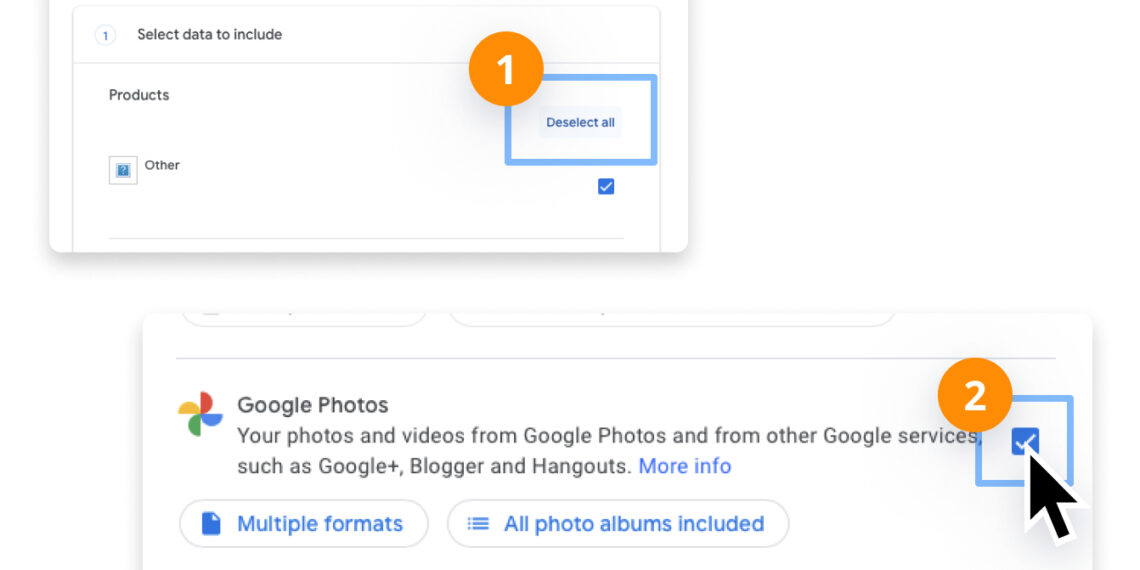
2. Deselect All
You’ll see many Google services selected.
Click “Deselect all” to avoid downloading everything.
3. Scroll to “Google Photos” and Check the Box
You can choose:
-
All photo albums, or
-
Specific albums (helpful for huge libraries)
4. Click “Next Step”
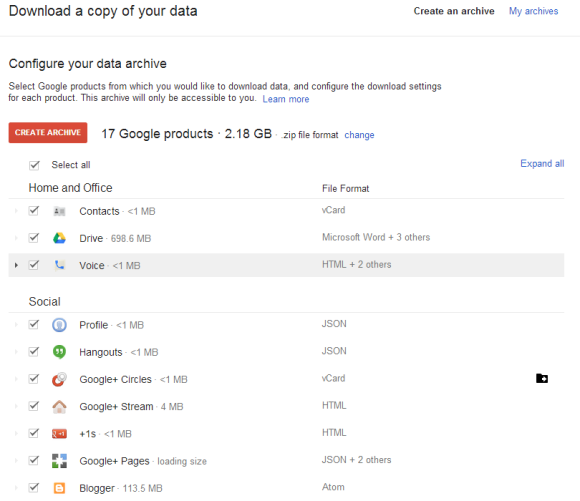
5. Choose Your Export Settings
Here’s what to pick:
-
Export type: Download
-
Frequency: Export once (unless you want an auto-backup every 2 months)
-
File type: ZIP
-
File size: 2GB / 4GB / 10GB / 50GB
Tip:
If you have more than 30GB of photos, choose 50GB to avoid dozens of small ZIP files.
6. Click “Create Export”
Google will prepare your photos.
This might take:
-
10–30 minutes for small libraries
-
Hours or days for huge collections
You’ll receive an email when it’s ready.
7. Download Your Files
Click the link from your email and download your exported ZIP files.
After Downloading: How to Access Your Photos
Once you have the ZIP files:
Windows
Right-click the ZIP → Extract All → choose a folder.
Mac
Double-click the ZIP → it will automatically unzip.
Inside, you’ll find folders like:
-
/Google Photos/ -
/Photos from 2018/ -
/Album Name/
Note:
Google also includes small JSON metadata files. You can ignore these unless you want advanced info like timestamps or location data.
Which Method Should You Use? (Quick Recommendation)
✔️ Want to download everything?
Use Google Takeout (Method 3).
✔️ Want just a few photos?
Use Direct Download (Method 1).
✔️ Want a specific album?
Use Album Download (Method 2).
Troubleshooting (2025 Updated)
🔧 Download stuck?
Try another browser (Chrome or Edge works best).
🔧 ZIP file won’t open?
Your files may be too big. Redo the export using a smaller ZIP size in Google Takeout.
🔧 Missing photos?
In Takeout, make sure all albums are selected.
Final Thoughts
Backing up your Google Photos is one of those tasks we put off—until we lose a device or storage fails. Doing a full download once in a while ensures your memories stay safe, no matter what happens.


